So it occurred to me that in all the time I've had my blog, I haven't made a post about the light diffusion box I use for taking photos of miniatures. While I've wanted to make a fancy upgraded version, or possibly even buy a "real" one, I can honestly say that I haven't really seen the need and any issues I've had with my cheap and easy home-made one have been easily rectified.
So what
is a light diffusion box, you ask? By way of a disclaimer, I am by no means an expert on the subject nor a professional photographer. That said, the idea of having a light diffusion box for taking photographs of objects inside it is that rather than directly lighting your miniature subject, thus causing glare or uneven lighting and shading in the final image, you illuminate your photo subject indirectly (via ambient lighting) which results in a much better final photograph.
Mine was
really cheap and
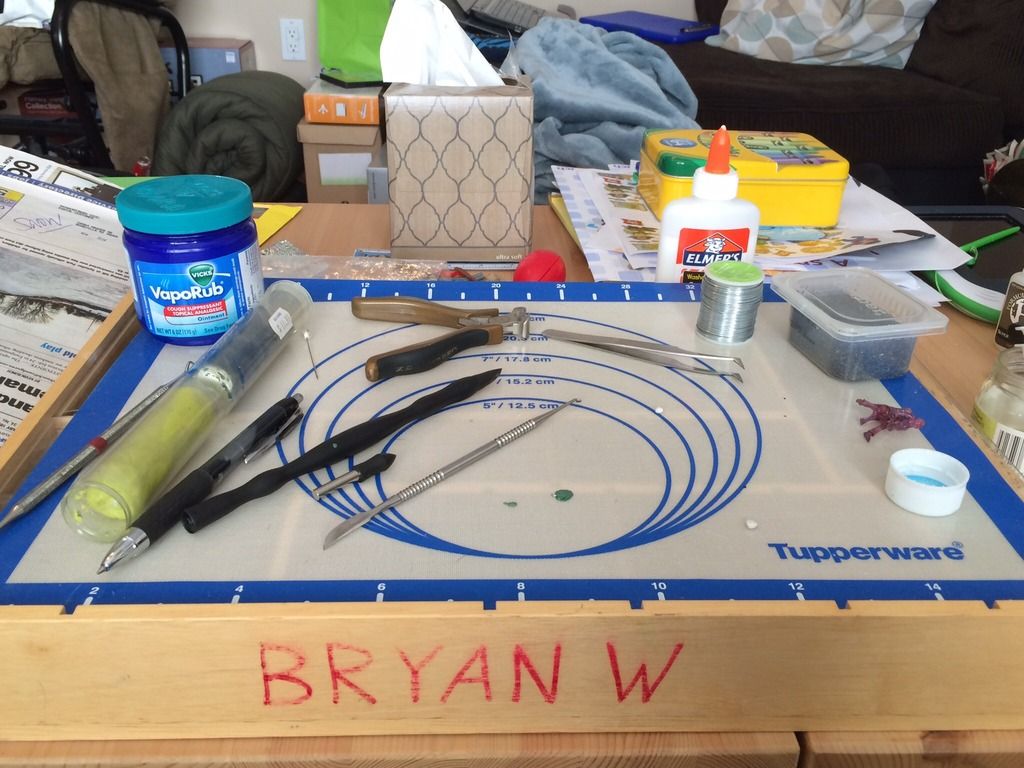
really easy to make. Not having any lengths regular wood to work with that wouldn't involve heavy cutting and making this a project that couldn't be finished in the space of one night, I went out to the garage and took a bag of thin, tall (3') bamboo stakes to which you can tie vines/tomato plants. I also had a thick roll of narrow (3/4" wide) masking tape and a pair of shears, too. And a hacksaw. Oh, and some large sheets of white translucent tissue paper for gift wrapping. All the materials together? Good to go!
To start, I decided on four uprights and 6 crossbeams. Choosing the straightest bamboo stakes out of the bag, I got enough straight pieces to cover the length of materials I needed. I cut them all down to size and then wrapped all the ends of the cut pieces with tape to keep the stakes from splitting.
In order to join the lengths of bamboo together I put a piece of tape on each joint to hold the pieces at a right angle, then wrapped both lengths first diagonally across each 90 deg. corner and then with a band around each bamboo length just to each side of joint to flatten out the diagonally-wrapped tape. I made 3 rectangles of the same height - two to serve as side panels and one to serve as a backing.
Compared to wrapping bamboo lengths with tape to fasten 'em together, taping the tissue wrapping paper sheets to the frame was
much easier. I simply cut them to size and fastened them to each panel of the frame at regular intervals. I used a length of wooden dowel fastened across the backing frame because couldn't be bothered cutting another piece of bamboo stake down to size - this serves as something to hang photo backdrops from.
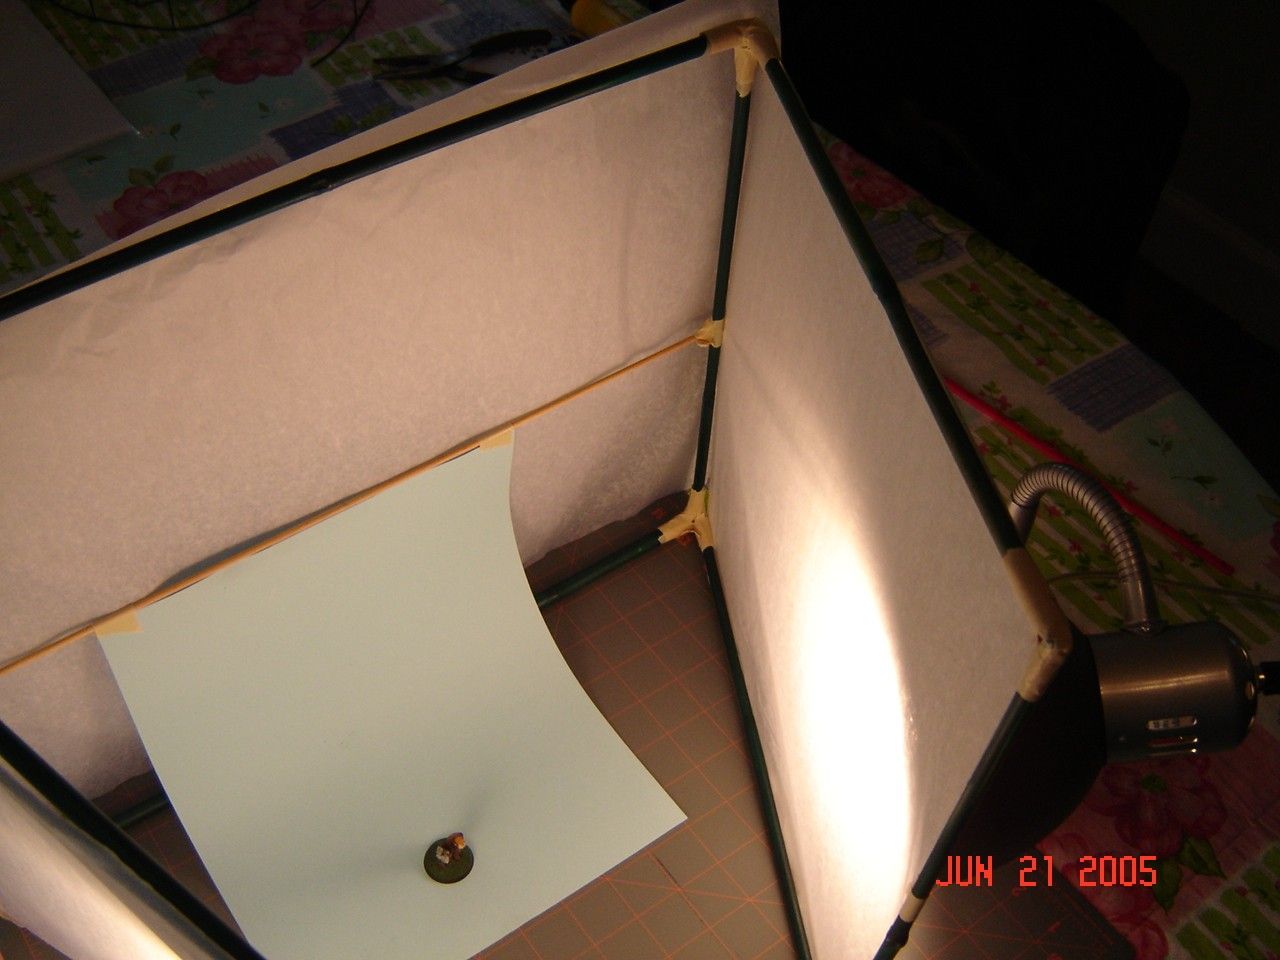
From a technical standpoint, the paper-covered frame serves as a barrier between external light sources and the photographic subject, i.e., the miniature. The tissue paper, while translucent, is not sheer enough to allow
all the light through thus acting as a diffusing filter. This light diffusion box allows light to pass through onto the subject but refracts the light, so rather than direct illumination of the miniature inside causing glare or reflections that would show up in the final photograph, instead you end up with muted, comfortable, and non-directional ambient lighting of the figure inside.
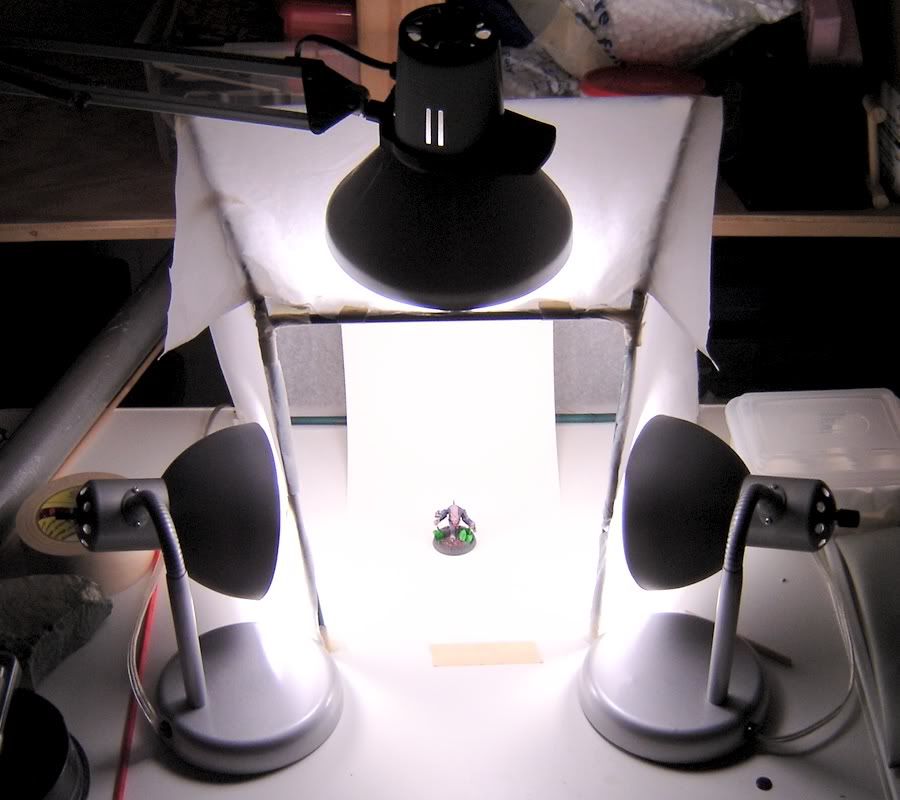
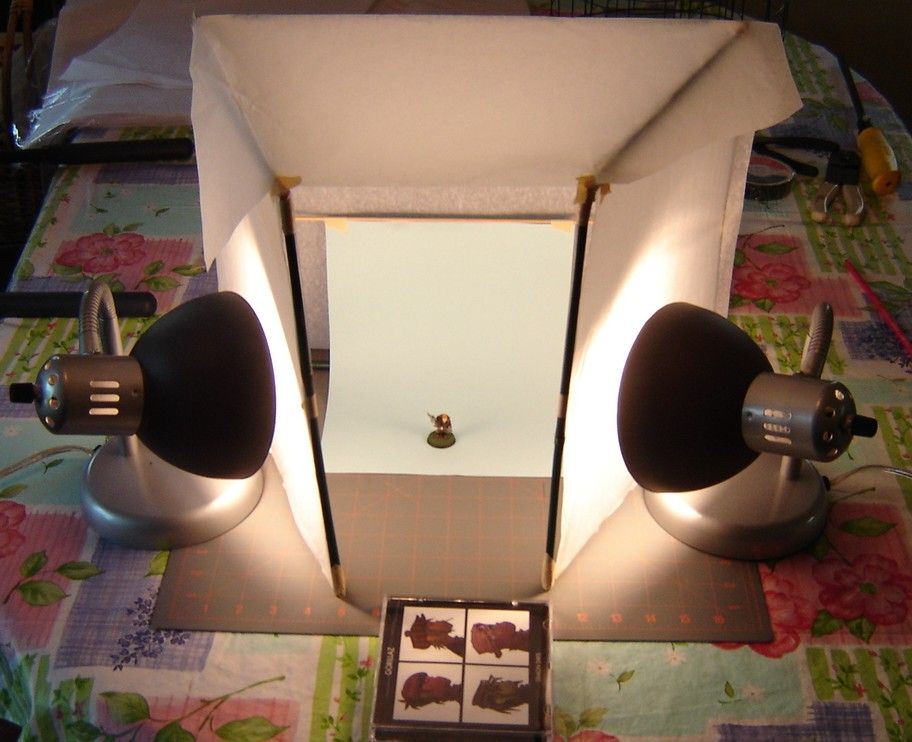
Currently I'm using 3 lamps with 100-watt GE Reveal "daylight" bulbs for taking pictures (I stocked up on them before incandescent bulbs stopped being produced): one is a cheap swing-arm overhead lamp clamped to the table that the light diffusion box sits, and the other two are figure-level $6 desk lamps angled inwards. These three equally bright lamps diffusing from both the front sides as well as angled down toward the miniature from the top make for very even "ambient" lighting to get good photographs. The current setup allows me to swap out backdrops as needed, and the only real problem I've run into is with figures or displays too large to fit inside my light diffusion box - everything has been fixed with additional tape or replacements of new white tissue sheets cut to shape. My light diffusion box has been going strong for roughly 10 years as of this writeup.
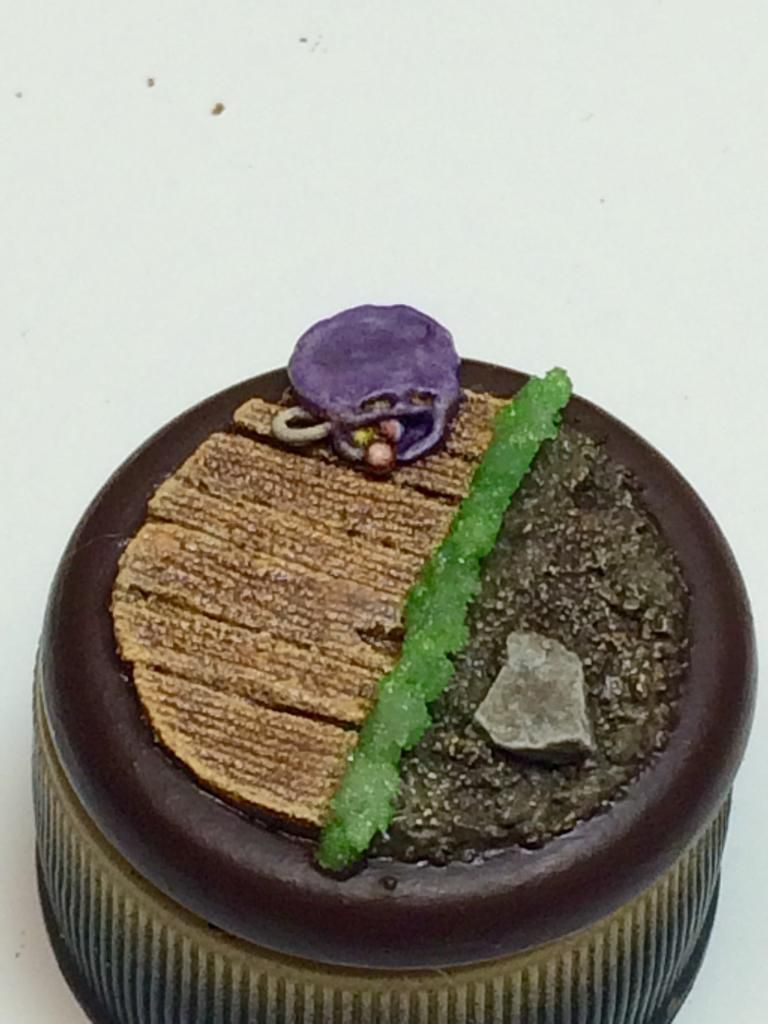
Lastly, here's a picture I took recently using the above lamp setup, the above light diffusion box, a neutral greyish randomly-patterned backdrop I printed from the Internet and a white sheet of paper in the opening of the box to further bounce light back toward the figure: