Here's the figure with extra basing material added - at this point the join between the resin casting and the slottabase is seamless, where previously there were gaps. The texture itself is a match for to-scale dirt/rough ground, and provides a good contrast with the existing open areas of broken concrete that were on the original resin pre-cast base top.
So far as any rough areas around the slottabase where there were inadvertent extra patches of texture from all the poking and prodding into final position, if you want a smooth finish to the sides of your bases (which I generally do, just for appearance's sake), then a quick touch up with an emery board or finishing stick (800+ grit wet-dry sandpaper would be a quick substitute) around the perimeter is all that's needed.
Here are some examples of the basing material used on figures, both the fine grit "ant dirt" and the to-scale rocks and gravel. Some of these painted figures are newer and some are (literally) almost 20 years old. (See if you can guess which are which - hee hee!):
Outside of the converted
Secret Weapon Miniatures base and GW slotta beneath the figure, larger chunks of broken resin, a GW Rhino vehicle roof hatch door, the remainder of the base was textured with "ant dirt" glued to an underlying structure of cotton batting.
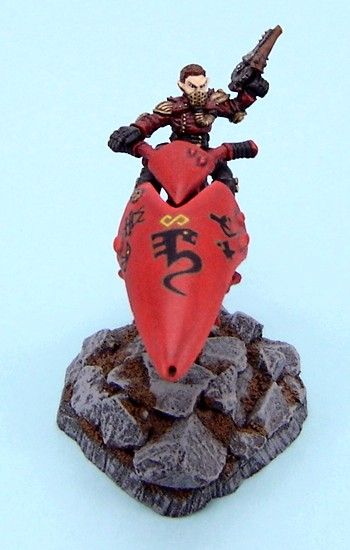
This Infinity figure is mounted on a converted
Secret Weapon Miniatures base (and Infinity slotta) with "ant dirt" added as texture and gap-filling in much the same way as the example throughout the rest of the tutorial.
The base is essentially made of a cut wood block, small decorative driveway stones, and "ant dirt."
The figure base is made from a piece of cork notice board glued to a GW slottabase, a metal bracket from the frame of the cork notice board, and a few paperclip ends stuck into the cork. The rest was textured with both fine grit "ant dirt" and small rocks mixed.
[Edit] I'll add the finished figure and base used as an example in the rest of the tutorial to the photo group when it's finished in a day or so. [/Edit]
You can find the first part of this Hobby Tip here:
Hobby Tip - "Making" Basing Material, Pt. 1


No comments:
Post a Comment